A Pages3D Primer
Learn how to create a Pages3D document, import a 3D model and toggle between page layout and live mode.
Required Product: Pages3D
Getting started with Pages3D requires an understanding of the two foundational modes used for editing with the software.
- Page Layout Mode – allows to you edit the page designed, position page elements, add text boxes, add tables, etc.
- Interactive Mode – allows you to interact with the document, manipulate the 3D view, create illustrations, create exploded views, click buttons, etc.
The focus of the Pages3D Primer is to make sure that you understand how to switch between the two modes in the software. This understanding is necessary before you can use the 3D tools effectively.
Our goal here is to create very simple Pages3D document so that we can work with the 3D tools in the Pages3D environment.
Create a New Document
In Pages3D you are primarily working to create a multiple-page document. The document can include a wide assortment of information based on text, images, 3D CAD, parts lists, 2D CAD, and more.
While generally users will begin from a template, this primer will start from a blank document so that you can get a foundational understanding of the program.
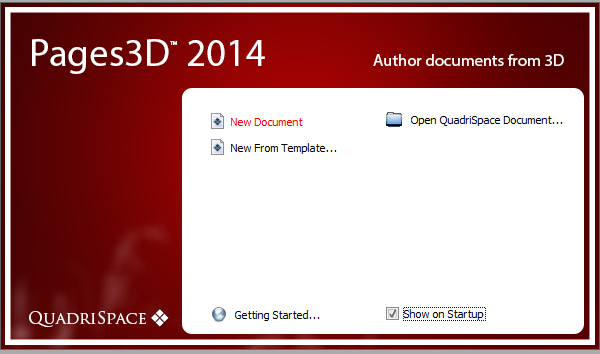
Kickoff Pages3D
- Start up the Pages3D application. You can do this from the Start Menu > All Programs > QuadriSpace 2014 > QuadriSpace Pages3D 2014
- From the Quick Start Dialog, choose “New Document…” to create a blank document.
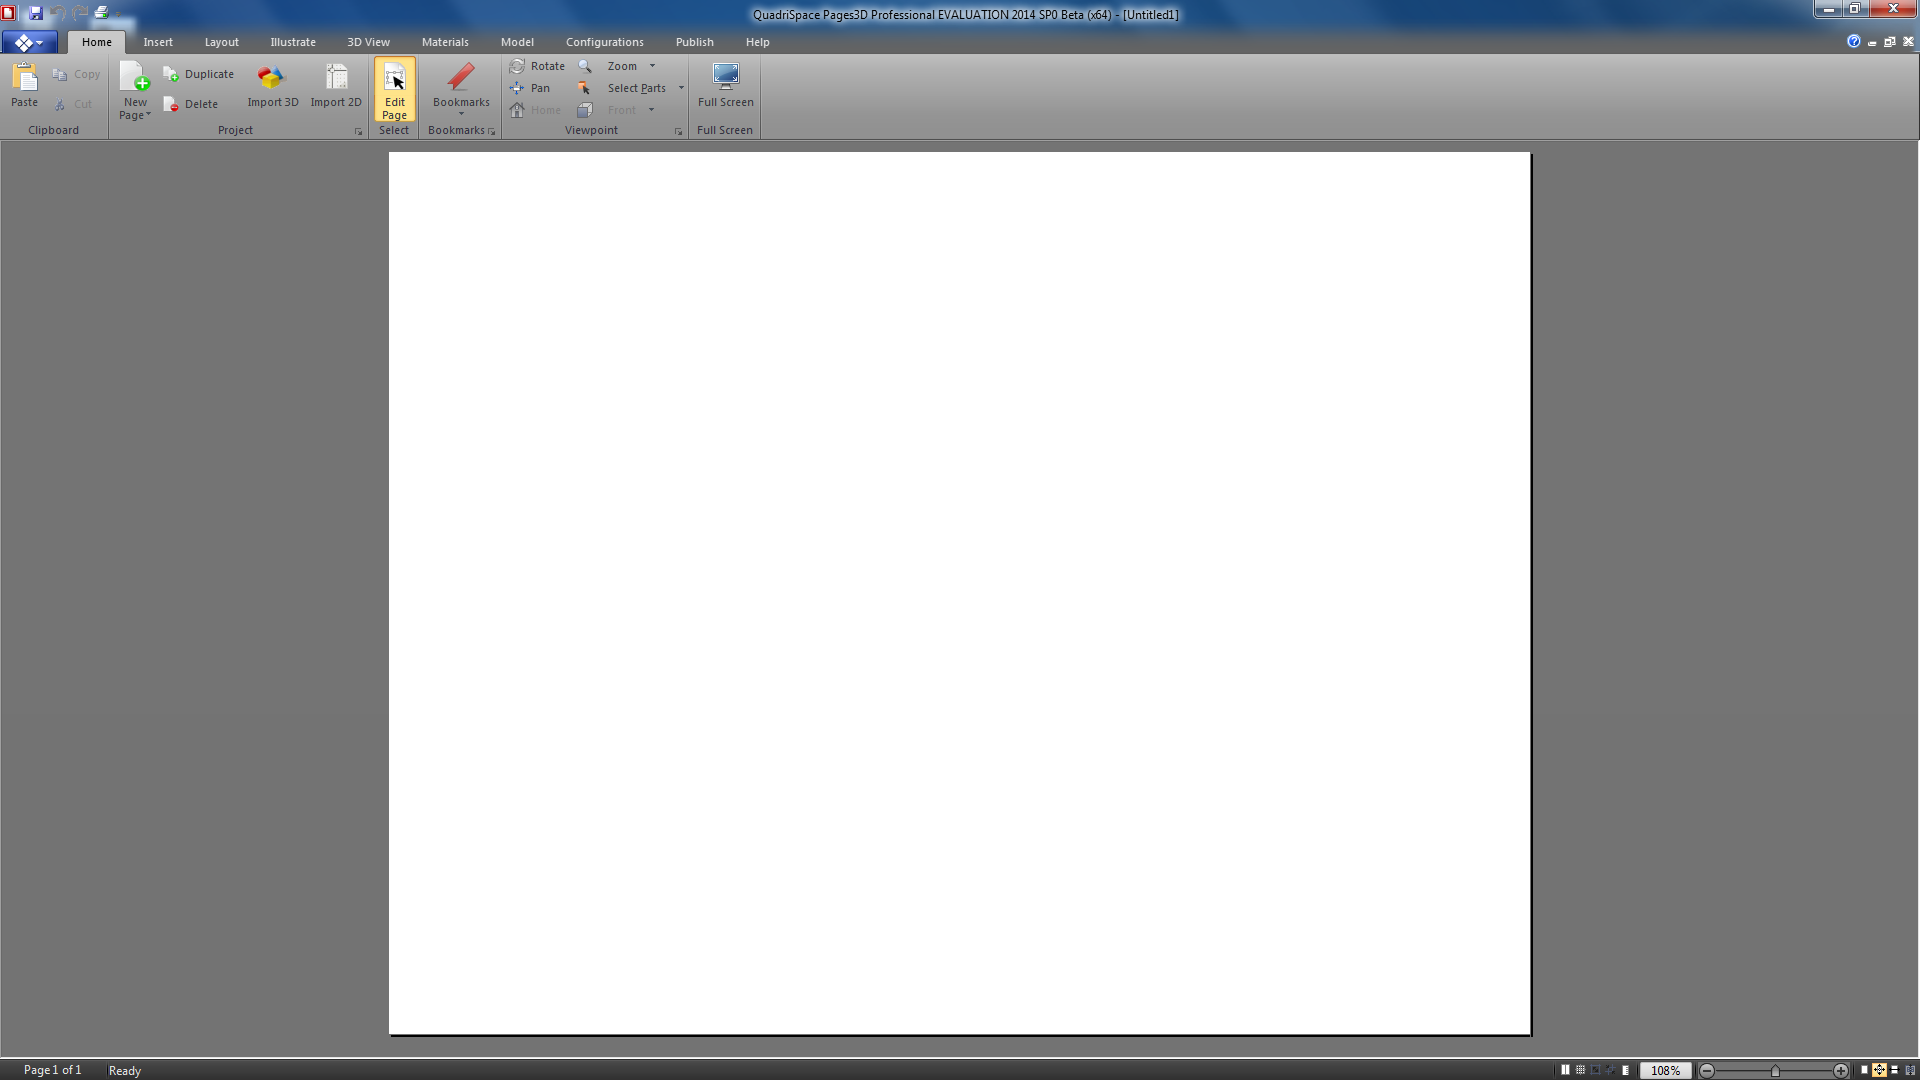
- Observe that your Pages3D main view now displays a single blank page. This is your first document page.
- Click on the Home Ribbon (it should already be selected)
- Notice that the “Edit Page” button on the home ribbon is highlighted indicating that we are in Page Layout Mode. In this mode, we modify the elements on the document page.
Importing a 3D Model
Pages3D allows you to directly import 3D from common file formats.
Import 3D CAD files, DO NOT Open them
In Pages3D, you should import 3D files into the document as Pages3D only opens QuadriSpace Documents (QSD files).

Import a 3D File
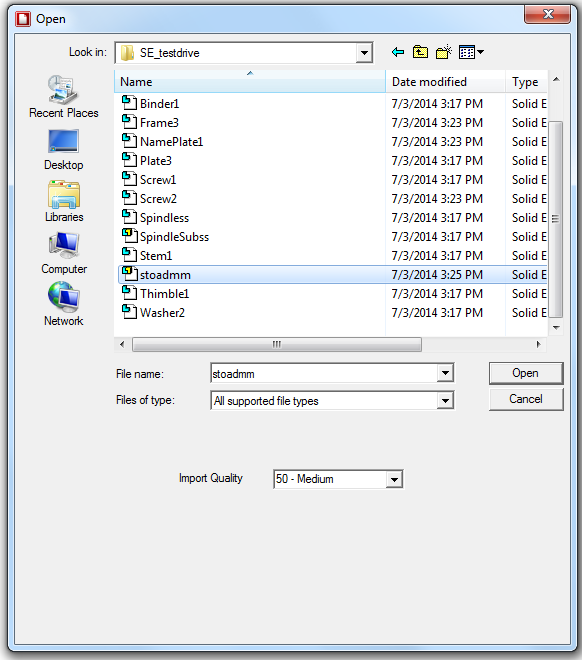
- From the Home Ribbon, click on “Import Model”
- Notice that this displays a file browsing dialog box that allows you to select the file to import.
- Browse to your training model and click on “stoadmm.asm” a Solid Edge assembly. (If you do not have Solid Edge installed on your computer, you can import “stoadmm.qsm” instead. This is a QuadriSpace Model exported from Solid Edge.)
- Click Open to begin importing this example model.
The 3D View
When 3D is imported, a 3D view is automatically created.
- The 3D view is a page element and can be positioned on the document page as desired, this occurs in Page Layout Mode, when “Edit Page” is on.
- The 3D view also can be used to interact with the 3D model, this occurs when “Edit Page" is off.
Introduction to Editing the Page Layout
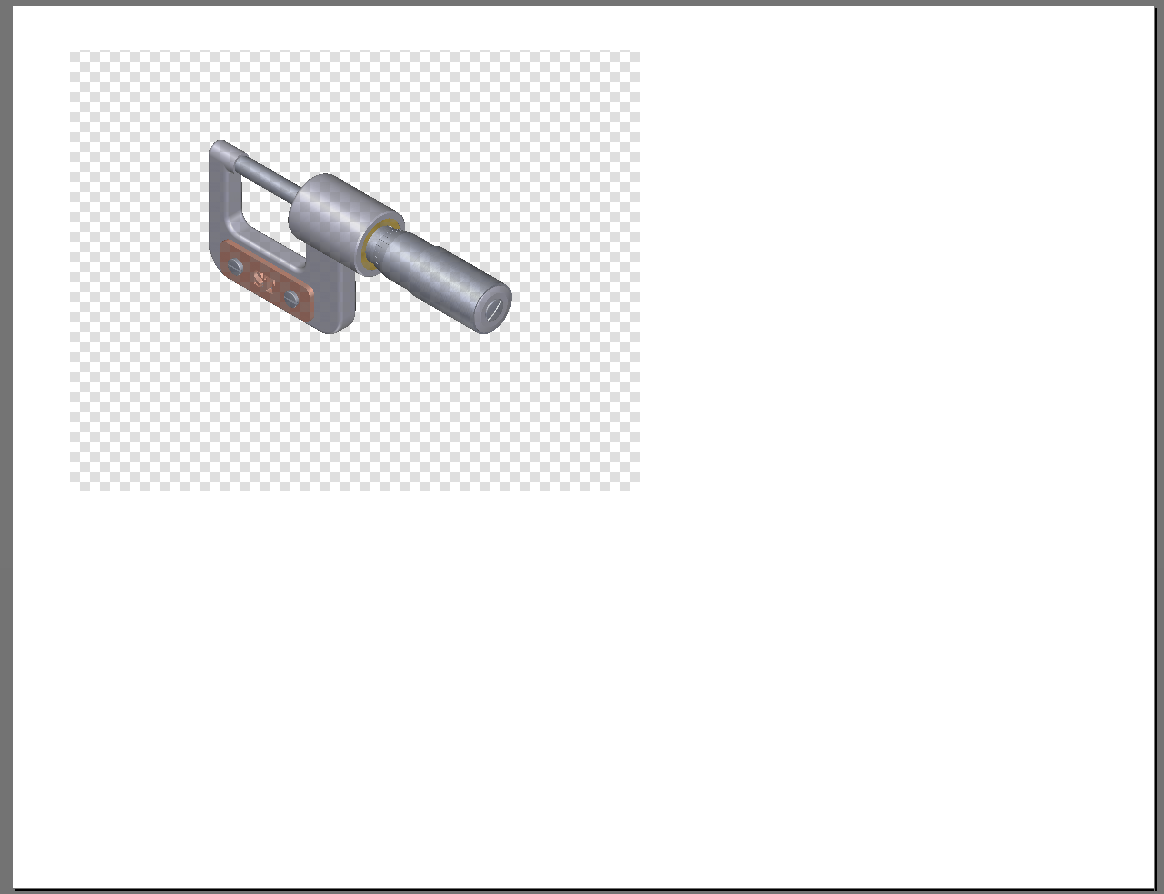
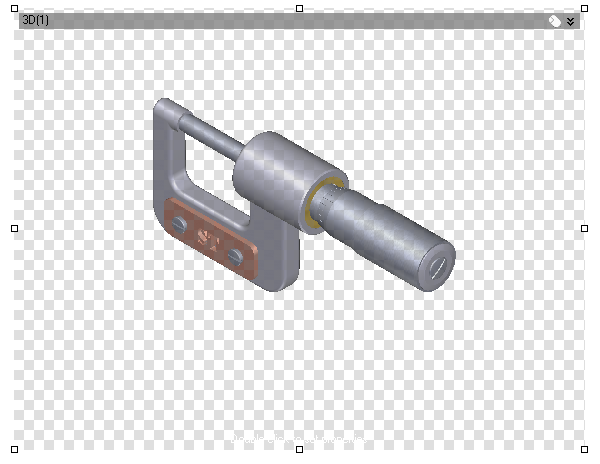
When Edit Page is highlighted indicating Page Layout Mode, then the 3D view will have a checkered overlay indicating that clicking on the view will all you to select the page element and position it. In this mode, clicking on the 3D view WILL NOT enable you to rotate, pan or manipulate the 3D model.

Repositioning and Resizing the 3D View
- Observe that the “Edit Page” button in the home ribbon is highlighted. If it is not, click it.
- Observe the checkered overlay on the 3D view.
- Click on the 3D view. DO NOT double click.
- Notice that positioning handles appear.
- Click around the center of the view and drag to move the view around on the page.
- Click on the bottom-right handle and drag to resize the page element.
For working through the Publisher3D-focused tutorials, you will want to make the 3D view full screen.
Make the 3D View Full Page
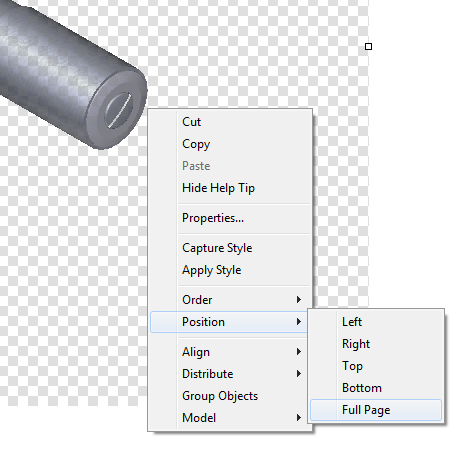
- Right click on the 3D view to bring up the right click menu.
- In the right-click menu, select Position > Full Page.
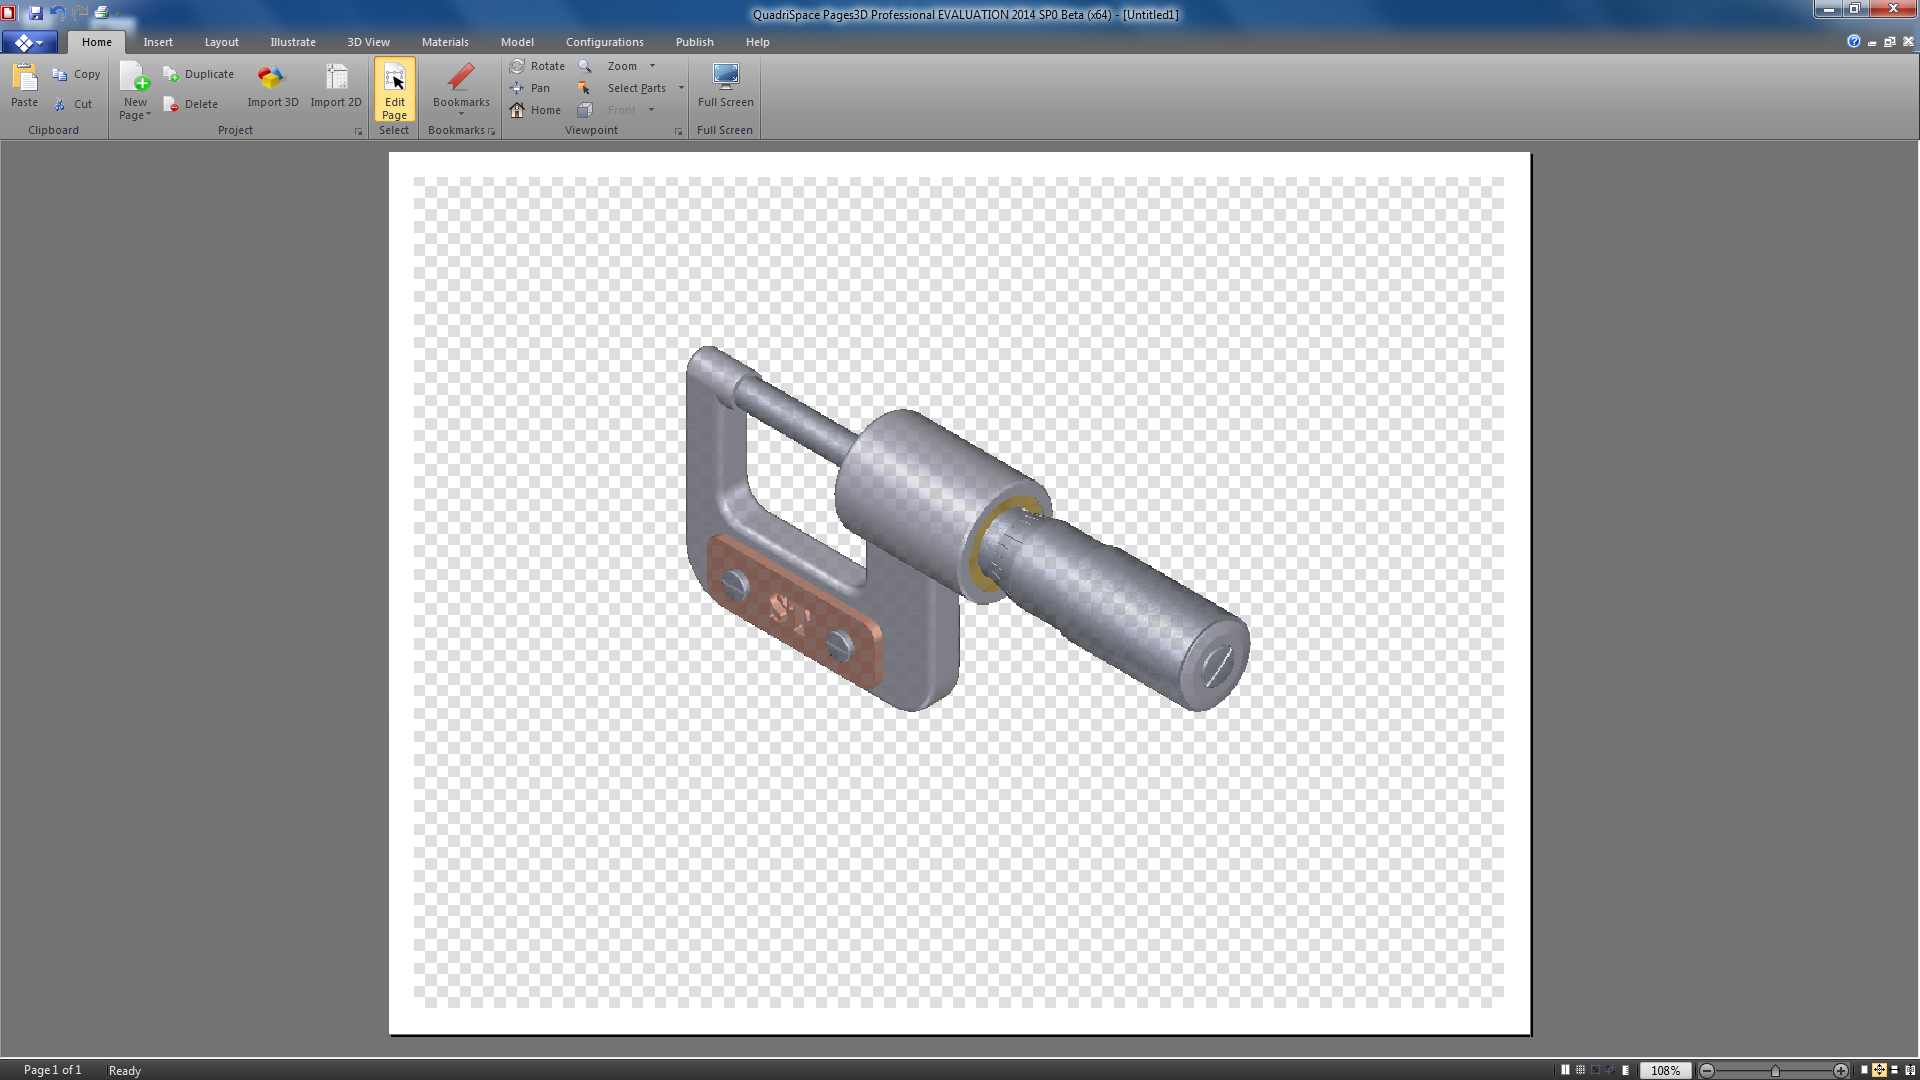
- Observe that the 3D view is resized and position to fill the page. The margin settings for the document may keep it from exactly filling up the entire area.
At this point, we have added a 3D model and a view of that 3D model to our Pages3D document. We have experimented with positioning the 3D view on the document page. Next we will learn how to change modes in Pages3D so that you can work with the 3D model.
Your page should look like this:
Interacting with 3D in Pages3D
When Edit Page is turned off, indicating Interactive Mode, then the 3D view will not have an overlay. This indicates that clicking on the view will use the active 3D tool such as rotate, pan, zoom and many other more advanced 3D manipulation tools.

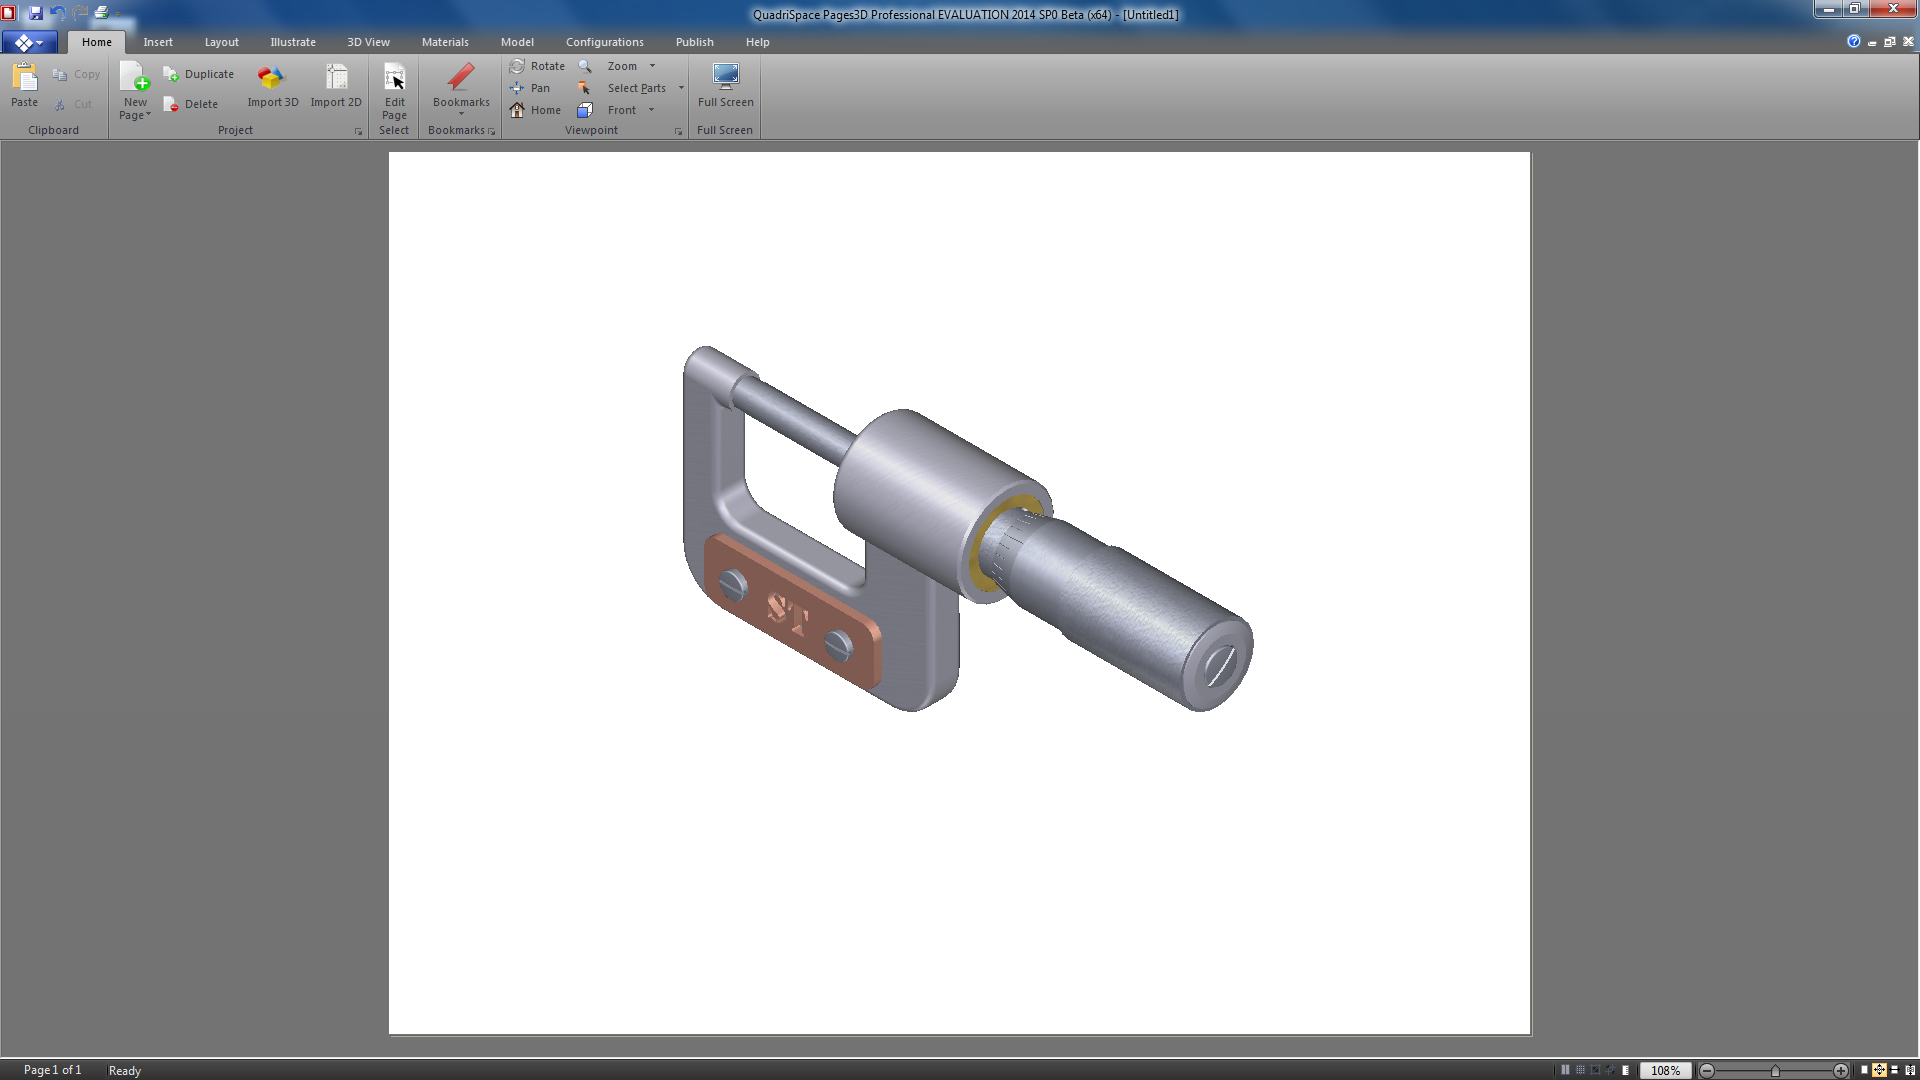
- From the home ribbon, click on “Edit Page” to deselect it.
- Observe that the checkered overlay is removed from the 3D view. This indicates that mouse commands will interact with the 3D, not the page element.
- In the viewpoint ribbon group, click on “Rotate”
- Click on the 3D with the left mouse button then hold down the button and drag.
- Observe that the 3D model now rotates with your mouse movements.
- Release the left-mouse button.
Double-Click To Toggle Pages3D Modes
The Edit Page button is only found on the Home Ribbon. The ability to switch modes which authoring a document is very important and switching back to the Home Ribbon each time you need to do so would rapidly become tedious.
Alternatively, you can double-click any page element to toggle the mode in Pages3D.
Double-Click to Toggle Modes
- Observe the state of the “Edit Page” button. It should still be turned off.
- Double-click on the 3D view.
- Notice that the state of the “Edit Page” button is now highlighted.
- Observe that the checkerboard pattern is now active.
- Now, double-click again on the 3D view.
- Notice that the mode changes back to 3D Mode.
Save a QuadriSpace Document
Pages3D saves to a QuadriSpace Document (QSD file). This file format is a single compressed file that includes your pages, settings and the imported information, in this case the 3D model.
- From the Application Menu, choose “Save”.
- Since this is the first time saving this document, a dialog will appear asking you for a filename.
- In the save dialog, choose a folder and then enter “pages3d_primer.qsd” for the filename.
- Click “Save” to save your Pages3D document as a QSD file.
3D Tools in Pages3D versus Publisher3D
The 3D tools used in Pages3D are the same as those used in Publisher3D. Publisher3D is simpler to use and understand because you can focus on just the 3D. In Pages3D, 3D is combined with page layout so you must understand how to switch between working with page layout and working with the 3D tools.
The key to using Pages3D effectively is to understand the different steps needed to import the 3D model and switch modes so that the 3D tools are active.
Using Pages3D with the Publisher3D-focused Training
When using Pages3D to complete training based on Publisher3D, you will need to use the steps presented here to import 3D, set up a page with a large 3D view and turn off “Edit Page” mode.
Updated less than a minute ago
